Tired of the same old, bland sandwiches? Imagine transforming your everyday lunch into a gourmet experience, complete with perfectly crisped bread, gooey melted cheese, and warm, delicious fillings. That’s the magic a Panini Sandwich Press brings to your kitchen, turning ordinary meals into extraordinary culinary delights. This versatile kitchen appliance is more than just a sandwich maker; it’s a gateway to a world of quick, healthy, and incredibly tasty creations that will redefine your mealtime routine.
What Exactly is a Panini Sandwich Press?
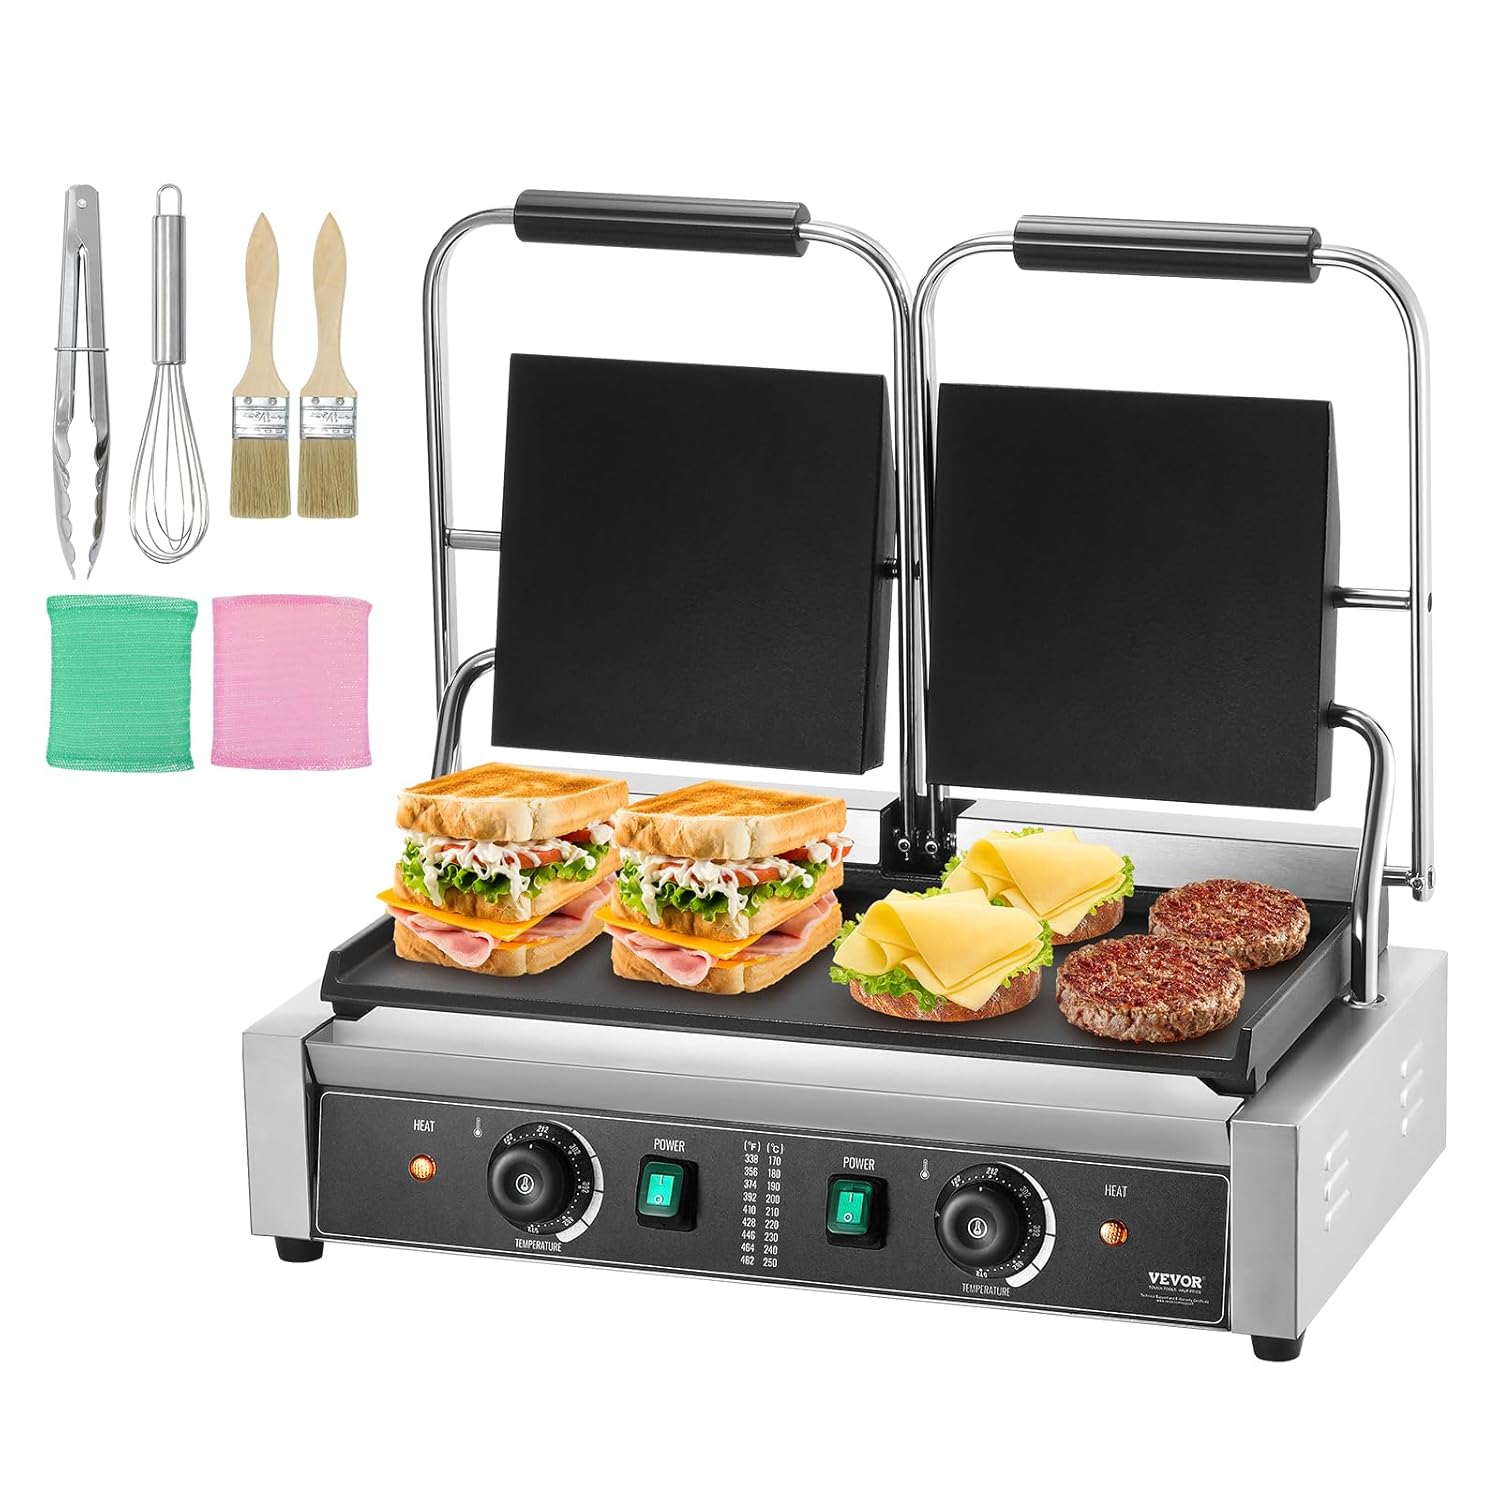
A panini sandwich press is an electric countertop appliance designed to toast and compress sandwiches, applying heat from both the top and bottom simultaneously. Often interchangeably called a panini maker, sandwich grill, or electric contact grill, its primary function is to create the signature flat, toasted, and often grill-marked sandwich that originated in Italy.
Why a Panini Press is a Must-Have in Your Kitchen
Owning a panini press goes far beyond simply making sandwiches. It’s about efficiency, versatility, and elevating your home cooking. With dual heating plates, it cooks food much faster than traditional methods, making it perfect for busy weeknights or quick lunches. Beyond paninis, it can tackle everything from quesadillas and burgers to grilled chicken and vegetables, acting as a compact indoor grill. The non-stick surfaces and integrated drip trays often found in these presses also mean healthier cooking, as excess fats are drained away, and cleaning is a breeze. It’s an appliance that truly broadens your culinary horizons without demanding extensive counter space.
The Evolution of a Culinary Favorite: A Brief History of the Panini Press
While the “panino” (meaning “small bread” or “bread roll” in Italian) has been a staple in Italian cuisine for centuries, the dedicated electric panini press as we know it today gained widespread popularity in the late 20th century. Originally, paninis were often pressed using heavy pots or by simply grilling them in a pan. The advent of the electric panini press revolutionized the process, offering a convenient, consistent, and quick way to achieve that perfectly toasted exterior and warm, melty interior, quickly becoming a beloved fixture in cafes and home kitchens worldwide.
Decoding Your Ideal Press: Types and How to Choose Your Perfect Panini Sandwich Press
Navigating the array of panini presses can feel daunting, but choosing the right one boils down to understanding your needs and the key features available.
Plate Power: Grooved vs. Smooth vs. Combination
The design of the cooking plates significantly impacts your results:
- Grooved Plates: These are the most common and iconic, creating those distinct grill marks that give your panini a professional, appealing look. They’re excellent for traditional paninis and mimicking char marks on meats.
- Smooth (Flat) Plates: Ideal for foods that require full surface contact, like grilled cheese, French toast, or hamburgers. They offer even heating across the entire surface without grill marks.
- Combination/Reversible Plates: Many versatile models offer one grooved and one smooth plate, or reversible plates, providing the best of both worlds for diverse cooking needs.
Material Matters: Cast Iron, Aluminum, or Ceramic?
The plate material affects heat distribution, retention, and cleaning:
- Cast Iron: Popular for its superior heat retention and even distribution. It takes longer to heat up but stays hot, making it ideal for continuous use, though it often requires seasoning.
- Aluminum: A more economical choice that heats up quickly and transfers heat efficiently, perfect for quick-service applications.
- Ceramic: Known for being easy to clean and promoting excellent browning and crust formation, often utilizing both radiant and contact heat.
For exceptional durability and even heating, many home chefs lean towards a stainless steel panini press with robust plate materials.
Size It Up: Single, Double, and Surface Area Considerations
Consider your counter space and typical cooking volume:
- Single Panini Press: Compact and perfect for individuals or smaller households with limited kitchen space, designed to cook one sandwich at a time.
- Double Panini Press: Offers more cooking surface, allowing you to prepare two or more items simultaneously, ideal for families or entertaining.
- Grill Surface Area: Think about the types of bread and quantity of food you typically prepare. A larger surface area offers more flexibility.
Must-Have Features for Your Panini Press
When selecting your panini sandwich press, look for these game-changing features:
- Floating Hinge: This allows the top plate to adjust and accommodate sandwiches of varying thicknesses, ensuring even pressure and cooking without squishing. It’s a non-negotiable for versatility.
- Adjustable Thermostat/Temperature Control: Precise temperature settings are crucial for cooking different foods. Higher temperatures are great for searing, while lower settings are better for delicate items or ensuring fillings are heated through without burning the bread.
- Non-stick Coating: Essential for easy food release and hassle-free cleanup.
- Removable Plates: A dream for cleaning! Dishwasher-safe removable plates save immense time and effort.
- Drip Tray: Collects excess fats and oils, contributing to healthier meals and keeping your countertop tidy.
- Wattage: A higher wattage (around 1200-1500W for home use) means faster preheating and better heat recovery.
- Indicator Lights: Simple “power on” and “ready” lights provide clear visual cues for operation.
Mastering Your Panini Press: Tips for Perfect Results Every Time
Using a panini press is straightforward, but a few tips can elevate your results from good to glorious.
Preheating and Temperature Control Demystified
Always preheat your panini sandwich press thoroughly before adding your food. This ensures even cooking and those coveted grill marks. For most sandwiches, a temperature between 350-375°F (175-190°C) is ideal, offering a balance of toasted bread and melted fillings. For more delicate items like quesadillas or grilled cheese, a slightly lower temperature around 325°F (160°C) might be better.
The Art of the Perfect Press: Technique and Timing
Place your assembled sandwich squarely on the bottom plate. If your press has a floating hinge, it will adjust to the thickness. Close the lid gently but firmly. Most paninis will cook perfectly in 3-7 minutes, depending on the heat setting and the thickness of your sandwich. Check periodically to achieve your desired level of golden-brown crispness and melted goodness. Don’t be afraid to experiment with different pressing times to find your sweet spot!
Beyond the Bread: Delicious Panini Recipes and Creative Uses
The versatility of a panini press extends far beyond the traditional ham and cheese. Get ready to unleash your inner chef!
Classic Panini Creations
- Ham and Swiss with Dijon: A timeless classic that’s always a crowd-pleaser.
- Ultimate Grilled Cheese: Elevate your grilled cheese with a blend of cheeses like cheddar, mozzarella, and a touch of provolone for an irresistible pull.
- Turkey Reuben: Layer turkey, Swiss cheese, sauerkraut, and a generous dollop of Russian dressing between rye bread for a pressed twist on a deli favorite.
Healthy & Veggie-Packed Paninis
- Mediterranean Veggie Panini: Combine roasted bell peppers, zucchini, spinach, feta cheese, and a drizzle of balsamic glaze.
- Chickpea Tahini Salad Panini: A protein-packed vegan option, using chickpeas mashed with tahini, celery, and spices.
- Mushroom and Caramelized Onion Panini: Sautéed mushrooms and sweet caramelized onions with a robust cheese like Gruyère or Swiss.
Sweet Treats and Surprising Delights
- Dessert Panini: Imagine bread filled with marshmallow creme, chocolate-hazelnut spread, sliced strawberries, and almonds – a decadent treat!
- Quesadillas: A panini press makes quick work of perfectly melted, crispy quesadillas.
- Grilled Vegetables: Lightly tossed in olive oil and seasoning, vegetables like zucchini, eggplant, and bell peppers can be beautifully grilled.
- French Toast: For a fast breakfast, dip bread in an egg mixture and press until golden.
The Homemade Advantage: Healthier, Tastier, and More Convenient
Making paninis at home with a panini sandwich press offers unparalleled benefits. You have complete control over ingredients, allowing you to opt for whole-grain breads, lean proteins, fresh vegetables, and healthier cheese alternatives. This customization means you can tailor meals to your dietary needs and preferences, often resulting in lower calorie and fat options than takeout. Moreover, the sheer convenience of a quick, delicious, and healthy meal prepared in minutes makes it a fantastic investment for any kitchen.
Expert Insights: Making the Most of Your Panini Press
“The secret to a truly outstanding panini isn’t just about the ingredients, but how you treat them,” advises Chef Isabella Rossi, a renowned culinary expert. “A panini press isn’t just a kitchen gadget; it’s an extension of your creativity. Don’t be afraid to experiment with different breads, cheeses, and even surprising fillings like grilled fruits or leftover roasted vegetables. The consistent, even heat allows flavors to meld beautifully, creating a depth that a cold sandwich simply can’t achieve.”
Frequently Asked Questions About Panini Sandwich Presses
What’s the best temperature to cook a panini?
Most paninis cook best between 350-375°F (175-190°C) for a balance of crisp bread and melted fillings. Delicate items might benefit from slightly lower temperatures around 325°F (160°C).
How long does it take to cook a panini?
Generally, a panini cooks in 3 to 7 minutes. The exact time depends on your press’s temperature, the thickness of your sandwich, and your preferred level of crispiness. It’s best to check frequently.
Can I cook other foods in a panini press?
Absolutely! A panini press is incredibly versatile. You can grill burgers, chicken breasts, fish fillets, vegetables, quesadillas, French toast, and even make dessert paninis or hash browns.
How do I clean my panini sandwich press?
For easiest cleaning, wipe down the plates with a damp cloth or paper towel while the press is still warm (but unplugged). If your press has removable plates, many are dishwasher safe, making cleanup even simpler. Avoid abrasive scrubbers that could damage non-stick coatings.
What’s the difference between a panini press and a sandwich maker?
While often used interchangeably, a traditional sandwich maker (like those that crimp edges) typically seals and divides sandwiches into triangles, often limiting the size and type of bread. A panini sandwich press, however, presses and toasts a wider variety of sandwiches and other foods, typically leaving grill marks without sealing the edges.
Your Panini Adventure Starts Now: Conclusion
The panini sandwich press is more than just an appliance; it’s an invitation to explore a world of culinary creativity, convenience, and delicious flavors. From classic Italian masterpieces to innovative healthy meals and even surprising sweet treats, its versatility knows no bounds. By understanding its features and embracing simple techniques, you can effortlessly transform your kitchen into a gourmet panini bar, crafting restaurant-quality meals with ease. It’s time to press, toast, and savor the incredible possibilities that await!