Stepping into the world of gourmet sandwiches at home might seem daunting, but with the Best Panini Press, you’re just moments away from culinary delight. Forget soggy bread and unevenly heated fillings; a quality panini press transforms ordinary ingredients into extraordinary meals, delivering that satisfying crunch and melted goodness every time. It’s more than just a kitchen gadget; it’s a passport to quick, customizable, and utterly delicious food that will impress your family and friends. If you’re ready to elevate your sandwich game and explore a world of grilled possibilities, understanding what makes the top models stand out is your first step.
What is a Panini Press and Why You Need One
At its core, a panini press is an electric grill with hinged, heated plates designed to press and toast sandwiches, typically paninis (Italian for “small bread” or “rolls”). However, its utility extends far beyond just bread. These versatile appliances can grill vegetables, cook burgers, sear chicken breasts, and even make quesadillas, turning a simple countertop device into a multi-functional cooking tool. You need one because it offers convenience, speed, and consistent results that a regular frying pan or toaster oven simply can’t match. Imagine a perfectly golden-brown exterior, warm and gooey interior, all achieved in minutes with minimal fuss. For busy weeknights, quick lunches, or even entertaining, a reliable panini press becomes an indispensable kitchen companion.
The History and Evolution of the Panini Press
While grilled sandwiches have existed in various forms for centuries, the modern panini and its dedicated press gained significant popularity in Italy, particularly in Milanese bars, during the 1970s and 80s. The panini itself, often made with ciabatta or focaccia bread and filled with deli meats, cheese, and vegetables, quickly became a fashionable lunch item. As its fame spread globally, especially to North America, the demand for a specialized appliance to replicate the perfectly pressed, warm sandwich grew. Early models were often heavy, cast-iron contraptions, sometimes manually operated. Over time, manufacturers evolved the design, incorporating electric heating elements, non-stick surfaces, adjustable temperature controls, and floating hinges to accommodate various sandwich thicknesses. Today’s best panini press models are sleek, efficient, and user-friendly, a testament to decades of culinary innovation responding to consumer desire for quick, high-quality grilled food.
Types of Panini Presses and How to Choose
When it comes to selecting the ideal panini press, you’ll encounter a few key variations and features to consider. The primary distinction often lies in the plate design:
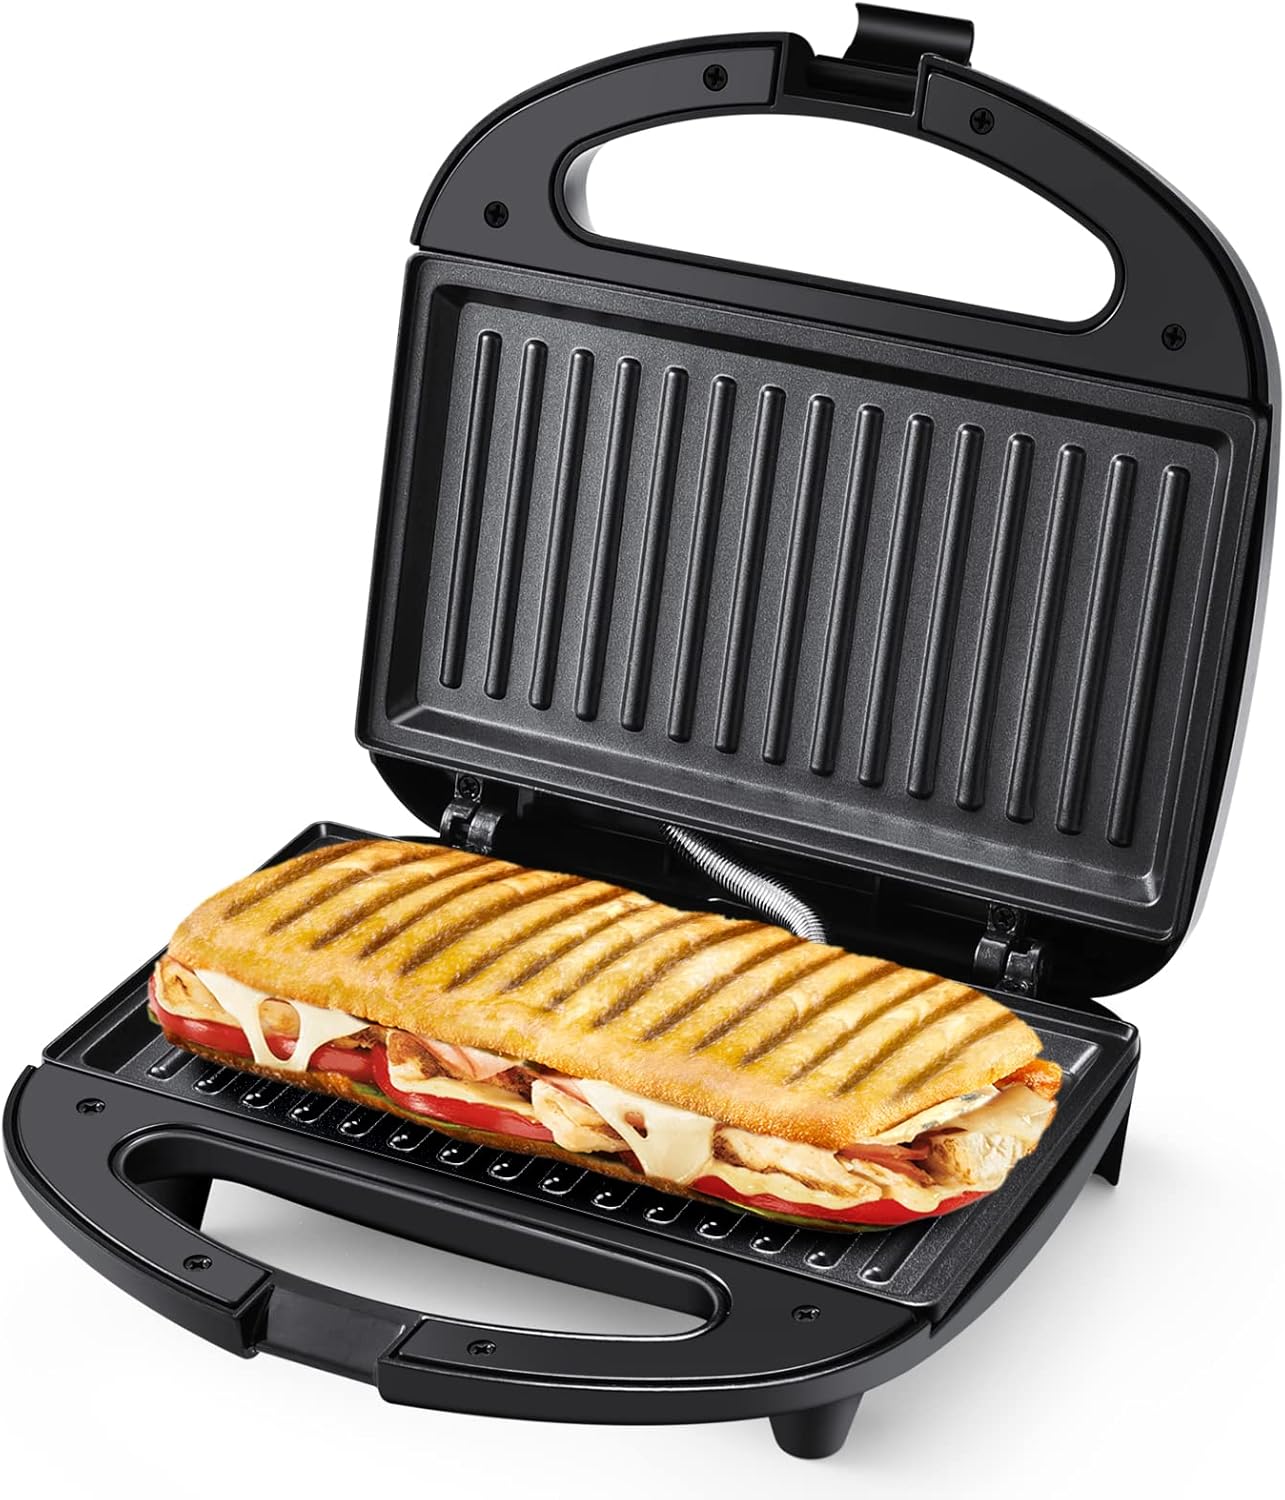
- Ribbed Plates: These are the classic design, creating attractive grill marks on your food and allowing fat to drain away. They’re excellent for simulating an outdoor grill experience.
- Flat Plates: Offering a larger, even heating surface, flat panini press models provide full contact for a consistent toast across the entire sandwich. They are also ideal for items like quesadillas or heating tortillas.
Many modern presses offer a combination, with one ribbed and one flat plate, or reversible plates. Beyond plate style, consider these crucial features:
- Size: How many sandwiches do you typically make at once? Compact models are great for individuals, while larger presses can accommodate multiple paninis or bigger cuts of meat.
- Plate Material: Non-stick surfaces are standard for easy food release and cleaning. Some high-end models feature cast iron or ceramic plates for superior heat retention and distribution.
- Temperature Control: Adjustable thermostats give you precision over your cooking, preventing burning and ensuring thorough heating for different ingredients.
- Floating Hinge: A must-have feature, this allows the top plate to adjust to the thickness of your food, ensuring even pressure and consistent cooking, whether you’re making a thin wrap or a thick, loaded sandwich.
- Drip Tray: Essential for collecting excess grease, making cleanup much simpler.
Choosing the right panini press involves balancing your cooking habits, kitchen space, and budget. For example, if you prioritize durability and even heat, a vollrath panini press might be a premium option to consider for its robust construction, though many excellent home models offer similar benefits.
How to Use a Panini Press Effectively
Mastering your panini press is straightforward, but a few tips can ensure consistently delicious results:
- Preheat Thoroughly: Just like a grill, a panini press needs to be fully preheated to reach the optimal cooking temperature. This usually takes 5-10 minutes. An indicator light will typically signal when it’s ready.
- Lightly Grease (Optional): While many plates are non-stick, a light brush of butter or olive oil on the outside of your bread not only helps with browning but also adds flavor and crispiness.
- Don’t Overfill: Resist the urge to stuff your panini to the brim. Overfilling can make it difficult for the press to close evenly and cook uniformly, leading to squished, unevenly heated sandwiches.
- Press Evenly: Place your sandwich centrally on the bottom plate. Gently lower the top plate, allowing the floating hinge to adjust. Avoid slamming it shut, which can squeeze out fillings.
- Monitor Cooking: Cooking times vary based on your press’s heat, the thickness of your sandwich, and your desired level of crispiness. Most paninis are ready in 3-7 minutes. Keep an eye on it to prevent burning.
- Clean After Each Use: Once cooled, wipe down the plates with a damp cloth or paper towel. For stubborn bits, a plastic scraper or wooden utensil can help. Avoid abrasive cleaners or metal tools that can damage the non-stick coating.
Basic Panini Recipes and Variations
The beauty of a panini is its versatility. Start with the basics and then let your imagination run wild!
Classic Cheese Panini
Ingredients:
- 2 slices of your favorite bread (sourdough, ciabatta, or focaccia work well)
- 2-3 slices of cheese (cheddar, provolone, mozzarella)
- Butter or olive oil for brushing
Instructions:
- Preheat your panini press.
- Butter one side of each bread slice.
- Place one slice, butter-side down, on the press. Layer with cheese, then the second slice of bread, butter-side up.
- Close the press and cook for 3-5 minutes, or until the bread is golden brown and the cheese is melted and bubbly.
Veggie Delight Panini
Elevate your cheese panini with fresh vegetables.
Variations:
- Add thinly sliced tomatoes, spinach, roasted red peppers, or grilled zucchini before pressing.
- Spread a thin layer of pesto or sun-dried tomato spread on the inside of the bread for extra flavor.
Deli Meat and Cheese Panini
A staple for a reason, perfect for using up leftover deli items.
Variations:
- Turkey and Provolone: Layer sliced turkey, provolone cheese, and a touch of mayonnaise or mustard.
- Ham and Swiss: Classic combination, perhaps with a touch of Dijon mustard.
- Italian Meats: Prosciutto, salami, and mozzarella with a few basil leaves.
Creative Panini Ideas
Don’t limit yourself to traditional fillings:
- Breakfast Panini: Scrambled eggs, cheese, and bacon or sausage.
- Dessert Panini: Sliced bananas and Nutella, or apple slices with cinnamon and a sprinkle of brown sugar.
- BBQ Chicken Panini: Shredded cooked chicken mixed with BBQ sauce, red onion, and cheddar cheese.
Tips and Tricks for the Perfect Panini
Achieving that ideal panini isn’t just about the press; it’s also about a few smart techniques:
- Choose the Right Bread: Sturdy breads like ciabatta, focaccia, sourdough, or even thick-sliced artisan bread hold up best to pressing. Avoid soft, thin sandwich bread that can become too compressed.
- Butter or Oil the Exterior: This step is crucial for achieving a beautiful golden crust and preventing sticking.
- Layer Evenly: Distribute your fillings from edge to edge without creating a huge mound in the middle. This ensures even heating and prevents parts of the sandwich from being too thin or too thick.
- Don’t Rush the Preheat: A properly preheated press ensures that the bread starts to toast immediately and the fillings heat through quickly.
- Experiment with Spreads: Pesto, hummus, various mustards, and flavored mayonnaises can add incredible depth to your paninis.
- Chef Isabella Rossi, a renowned culinary expert, notes, “A high-quality panini press isn’t just about making sandwiches; it’s about unlocking a world of quick, delicious meals, from perfectly seared chicken to crispy quesadillas. It’s an indispensable tool for any modern kitchen.”
- Cleanliness is Key: A clean press performs better and lasts longer. Regular wiping down prevents food buildup and keeps your appliance in top condition.
Benefits of Making Panini at Home and Healthy Options
Owning a panini press opens up a world of benefits, both culinary and practical:
- Cost-Effective: Making paninis at home is significantly cheaper than buying them from a cafe or restaurant, especially if you regularly enjoy grilled sandwiches.
- Customizable: You have complete control over ingredients, allowing you to tailor fillings to your exact taste, dietary needs, or what you have on hand.
- Healthier Choices: Easily swap out processed meats for lean proteins, load up on fresh vegetables, and opt for whole-grain breads. You can control sodium, fat, and preservatives, making homemade paninis a much healthier fast-food alternative.
- Versatility: As mentioned, a panini press isn’t just for sandwiches. It’s an indoor grill that can cook a variety of meats, fish, and vegetables, broadening your cooking horizons.
- Quick Meals: Paninis are perfect for quick lunches or dinners, usually taking less than 10 minutes from start to finish.
For healthy options, consider:
- Using whole-wheat or multigrain bread.
- Filling with lean protein like grilled chicken breast or turkey.
- Maximizing vegetables like spinach, mushrooms, bell peppers, and zucchini.
- Using a light spread like hummus or avocado instead of heavy sauces.
- Opting for lower-fat cheeses or using cheese sparingly.
Serving Ideas and Panini Pairings
A delicious panini is often best enjoyed with complementary sides that round out the meal.
- Soups: A classic pairing. A warm tomato soup, minestrone, or a creamy vegetable bisque works beautifully.
- Salads: A fresh green salad with a light vinaigrette provides a refreshing contrast to the richness of the panini.
- Chips or Crisps: A handful of your favorite chips offers a satisfying crunch.
- Fresh Fruit: Sliced apples, grapes, or berries can add a sweet and healthy element.
- Pickles: A dill pickle spear can cut through the richness and add a tangy bite.
- Coleslaw: A creamy or vinegar-based coleslaw offers another texture and flavor dimension.
Frequently Asked Questions About Panini Presses
What is the best bread for paninis?
Sturdy breads like ciabatta, focaccia, sourdough, and thick-sliced artisan breads are generally the best choices as they hold up well under pressure and toast beautifully without becoming too thin or dense.
Can I cook raw meat on a panini press?
Yes, many panini presses are powerful enough to cook raw meat like chicken breasts, thin steaks, or burgers, much like an indoor grill. Ensure the meat is cooked to the proper internal temperature for safety.
How do I clean a panini press?
After unplugging and allowing the press to cool, use a damp cloth or paper towel to wipe down the plates. For stuck-on food, a plastic scraper or a wooden spatula can help. Avoid harsh chemicals or abrasive pads.
What is the difference between a panini press and a sandwich maker?
While both toast sandwiches, a panini press typically has heavier, often ribbed plates and a floating hinge, designed for thicker, more substantial sandwiches and versatile grilling. A sandwich maker usually seals and cuts thinner sandwiches into triangles.
Can I use aluminum foil in a panini press?
Yes, you can use aluminum foil to line your panini press plates. This can help with extremely sticky foods or to keep the plates cleaner when cooking messy items, though it might reduce direct contact for crisping.
Is a panini press worth it?
Absolutely! A panini press is worth it for anyone who loves grilled sandwiches, seeks quick and versatile meal options, and wants to explore healthier homemade alternatives to fast food. It’s a convenient, multi-functional kitchen appliance.
Conclusion
Embracing the world of panini making at home with the best panini press is an investment in convenience, flavor, and culinary creativity. From quick weekday lunches to impressive weekend brunches, this versatile appliance transforms simple ingredients into memorable meals. By understanding the different types, mastering effective usage, and exploring a myriad of recipes, you unlock a universe of grilled possibilities. Don’t just make a sandwich; craft a culinary experience. We encourage you to experiment with different breads, fillings, and healthy alternatives, sharing your delicious creations with family and friends. Your journey to perfect grilled sandwiches and more starts now.